The Ultimate Guide to False Lashes
Whatever you may call them - fake, false, or just totally fabulous - there’s no denying the next-level glam a set of lashes can add to your makeup look! As lash lovers and experts, we understand that it can all get a little overwhelming: there are so many different brands, styles and tools (not to mention the endless tutorials on how to apply them) and it can be kinda scary gluing something to your eye! Like, that totally goes against everything we’ve ever been told. So we’re setting the record straight with the ultimate guide to false lashes: the basics, the application, and all the nitty-gritty in-between!
THE BASICS
Lash newbies, this goes out to youSo, you’ve copied that makeup look you saw on insta, but no matter how much you’ve blended or how sharp your winged liner is, it’s just not looking quite right. The likely scenario? They’re rocking a pair of falsies. Applied right, false lashes immediately better any eye look, bringing all the drama and attention to your eyes. And hey - they don’t have to be dark, thick, heavy butterfly-wing-like-things sitting on your lids - they can be super light and subtle, which, paired with fresh, glowy skin, simply highlight your natural features, rather than taking away from them.
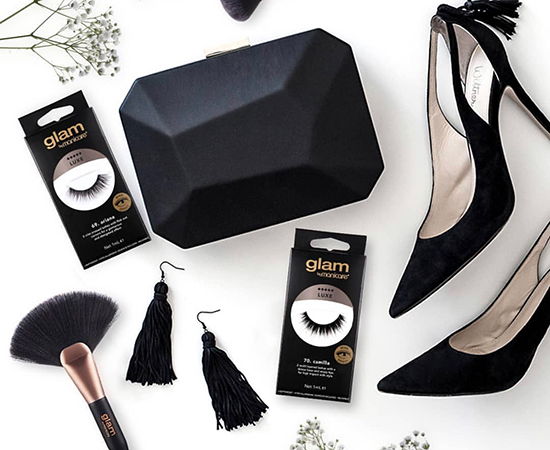
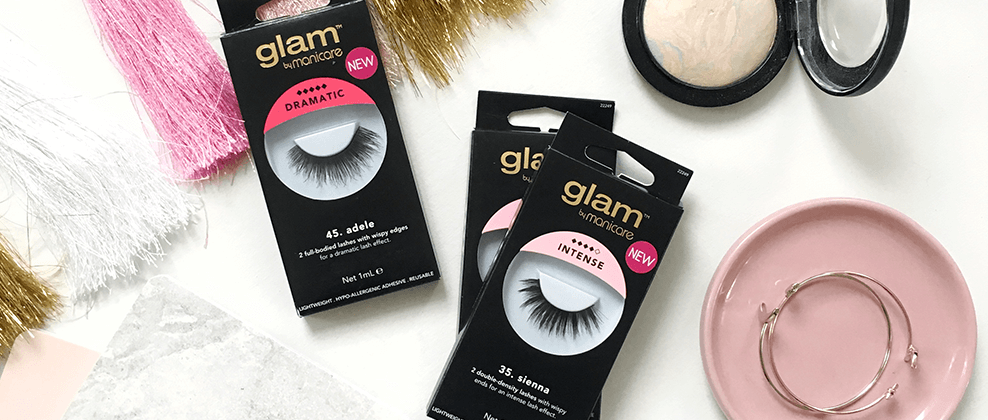
We firmly believe there’s a time and place for every lash. On our daily girl-boss grind, we tend to alternate between Taylor and Hazel: they’re both super lightweight and fluttery, offering a long-lasting boost of glam, so we can serve looks with confidence throughout the day. On a night out with the girls, its ALL about drama, and Stella and Adriana take centre state. There’s no way you can lock eyes with that cutie across the bar and be ignored with long, bold, captivating lashes like these must-haves. Come date night, it’s essential to frame the windows to your soul with something flirty and fluttery that does anything but take away from your natural beauty. Sophia and Miranda are your reliable wing-lashes! For big events like balls, formals, parties and the races, you’ll turn heads and bat lashes with Alessandra and Adele.
Ok, you’re closer to picking a lash and that’s fantastic. The next step is to decide what type of lash looks best, and what you feel comfortable in. Typically, the less full a lash strip is, the lighter it’ll be on your lid, meaning you’ll adjust to wearing it pretty quickly. If you’re starting out, go light with a fine, wispy lash versus something super dramatic. Right now, we’re loving our mink effect lashes as each strand is fine, soft and silky, just like real lashes. They are also shinier in texture than regular false lashes, giving the lashes a healthy, glossy look. Our mink effect lashes sit nice and comfortably on the lid, and are 100% cruelty free (a major plus for us!).
Once you’ve picked the perfect lash for the occasion and discovered the texture you like best, take a sec to look at the shape of your eye, and how you may want to accentuate that with false lashes. Here’s our recommendations:
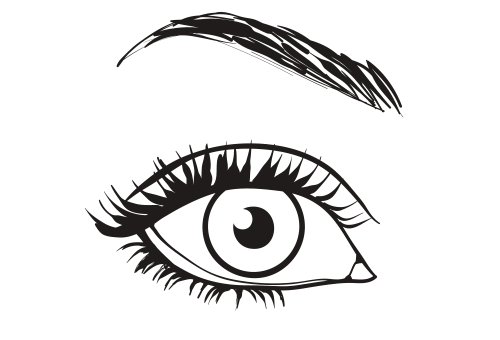
Round eyes:
Go for long, wispy lashes with more drama towards the outer corner to create an alluring cat-eye shape.
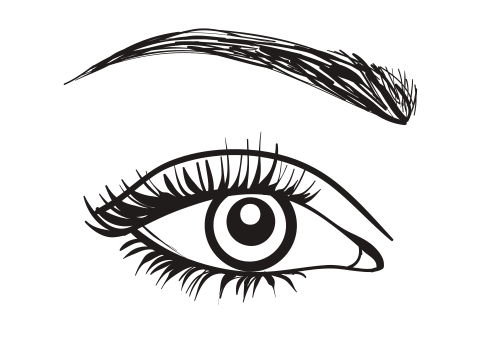
Almond eyes:
With a naturally seductive eye shape, you can get away with pretty much any lash you like! Accentuate your shape with lashes that are voluminous all the way along the band.
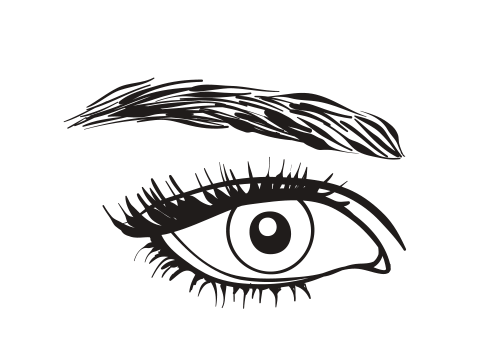
Hooded eyes:
Avoid super heavy dramatic lashes, which may make your eyes look smaller than they are. Go for a style that’s slightly longer in the centre to create an illusion of depth.
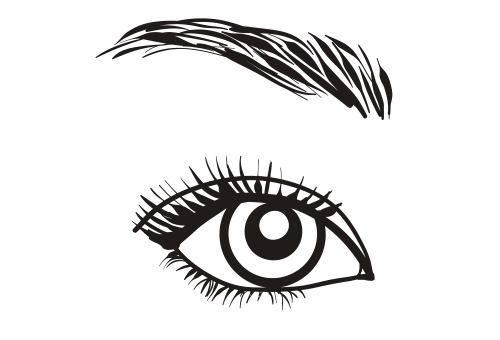
Mono-Lidded eyes:
We love a fluttery, criss-cross lash to open up and draw attention to mono-lidded eyes. We recommend to gently curl them once applied for added length and impact.
THE TIP OF ALL TIPS:
Always, ALWAYS make sure to measure your lash against your lash line and trim each lash band (from the inside end) to ensure it’ll sit just right. There’s literally nothing worse than having a lash that little bit too long lifting up and scratching your inner corner (especially when you’re nailing that choreographed Beyonce number on the dance floor).
It’s showtime, glam girls! Here’s how to apply false lashes:
STEP 1
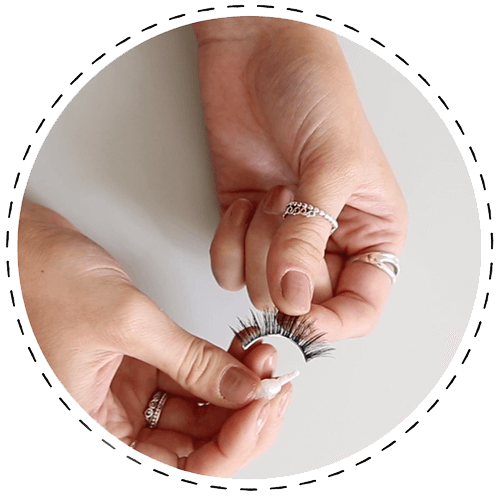
Using either your fingers or a lash applicator (way easier tbh), gently grasp the lash at the base, leaving the lash band exposed.
STEP 2
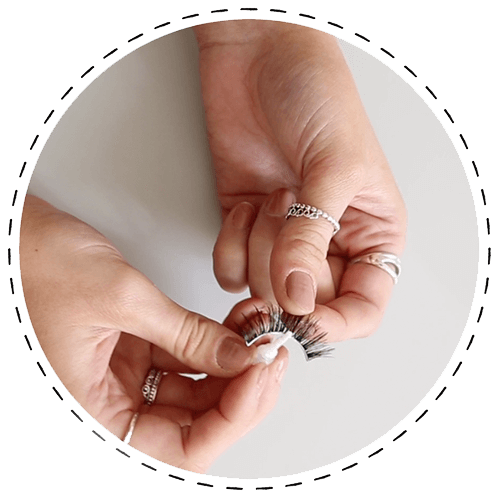
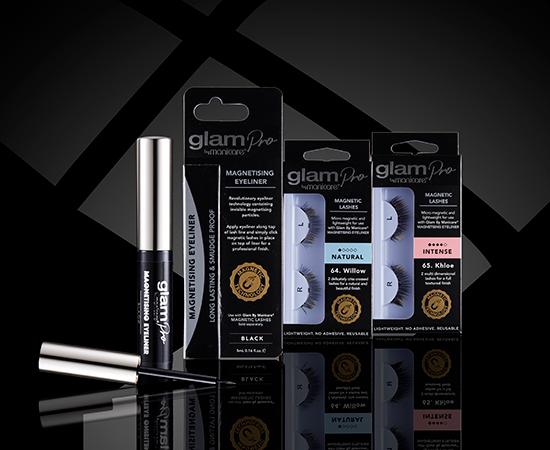
Apply a thin coat of adhesive to lash band. If you’re pairing your lash look with black eyeliner, we definitely recommend using our Glam Xpress® Black Adhesive Eyeliner for totally unnoticeable application. Wait 20-30 seconds until glue becomes sticky. This will ensure the lashes stick properly.
STEP 3
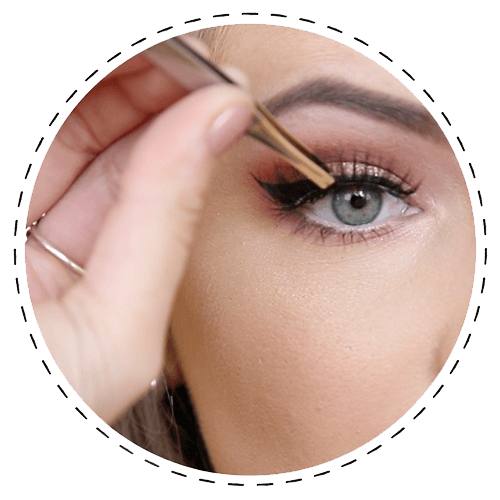
Gently press the applicator above the natural lashes, along the natural lash line. Friendly PSA to ensure the lash band is as close to your natural lash line as possible to avoid cringeworthy gaps (you can thank us later).
STEP 4
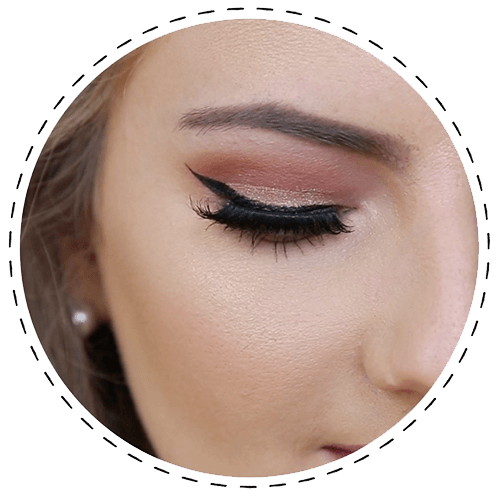
Release lash applicator once entire lash is secure and live your best life!
If you’re applying lashes on someone else, not only does that make you a BFF of dreams, it also means you have a pretty important responsibility to make everyone else as glam as you! Our hot tip? Whatever you do, do NOT glue their eyelids together! Make sure they’re just looking down and not closing their eyes while you’re applying their fab set of lashes.
Watch the process in action:
INSIDER EXTRAS
Feeling a little ‘extra’? Listen up.Sure, we’ve got all the goods prepped and ready for lash application, but it’s pretty fun to get crafty and create your one-of-a-kind custom lash looks! We like to think of it as nice and cheap way to create a look that feels expensive…
Be an individual. Build up your lashes to your liking, one lash cluster at a time, with our individual lash kits. This gives you total control over volume, length and placement. Individual lashes are also known to be the most comfy on your lids!
Layer love. Sometimes one lash strip is just not enough! If you’re looking to achieve lashes like Kim and Kylie, layer up your favourite lashes for dramatic volume and impact. We recommend starting with a strip and adding volume with individuals or half lashes for a more ‘I woke up like this’ finish.
Demi it up. If you’re just starting out with lashes, simply want to lengthen your outer lashes or feeling like going a little subtle, chop your favourite lashes in half across the band to create demi-style lashes, perfect for achieving a flirty flutter!
What’s the best way to remove my false lashes without damaging my real lashes?
There’s nothing more satisfying than taking off your lashes after a long night, but don’t rush it! Staring from either the outer or inner corner, gently grip the end of the lash (making sure you’re not getting your real lashes too!) and slowly pull away to separate the false lash from your lash line. Nailed it!
Can I use false lashes more than once?
There’s no reason to throw out a perfectly healthy lash! If you’re applying and removing them as suggested and keeping them stored in their original packaging, you should be able to squeeze at least 5 wears out of your lashes!
How do I store my lashes?
To keep them in top condition, we store our lashes in their original packaging. This keeps them separated from other dirt, dust and makeup, and we’re able to identify which lashes they are!
So I’ve applied my lashes and they feel kinda heavy - how do I get used to them?
Time! If you’re not a full-time lash wearer, initially they can feel a little heavy on your lid. The best way to adjust is to gently blink following application, have a look around, and wait a minute or two. You’ll forget they’re on in no time!
I’m a bit nervy: will fake lashes damage my real lashes?
Here’s the deal: if applied or removed incorrectly, false eyelashes can damage natural lashes. But if you’re making sure that you’re using glue designed for lashes, applying lashes to the base of your lash line (not directly on your lash hairs) and removing them gently, there’s no reason you should experience any signs of damage.
Ready to get your glam on? Find your perfect lashes with our lash selector!


